Honda Acty — Stereo
Head unit removal, stock wiring pinouts, and aftermarket harness adapters.
Head Unit Size
Standard 1 DIN
Stereo Removal
Two 8 mm bolts secure the stereo bracket — access them by removing the ashtray. The bolts are located in the top of the ashtray compartment and go up into the stereo bracket. They have a Phillips head slot for a screwdriver.
Stereo Removal / Installation Video
Video credit: WILLPowered Performance
Stock Wiring Connectors
Warning:Connectors can vary between models and if aftermarket components have been installed. Verify your connections before purchasing any wiring adapters.
4-Pin Connector Configuration
4-Pin Connector
Red/White — Switched 12v
Black — Ground
Blue — Left Speaker Positive (+)
Grey — Left Speaker Negative (−)
2-Pin Connector
White/Blue — Un-switched 12v
Red/Black — Instrument Panel Lights
6-Pin Connector Configuration
6-Pin Connector
Red/White — Switched 12v
Black — Ground
Blue — Left Speaker Positive (+)
Grey — Left Speaker Negative (−)
Red — Right Speaker Positive (+)
Brown — Right Speaker Negative (−)
2-Pin Connector
White/Blue — Un-switched 12v
Red/Black — Instrument Panel Lights
Aftermarket Wiring Adapters
An aftermarket wiring harness is available through WILLpowered Performance to connect your aftermarket stereo to the stock Honda Acty wiring. Options available for all connector types.
Purchase: Honda Acty Wiring Harness for Aftermarket Stereo
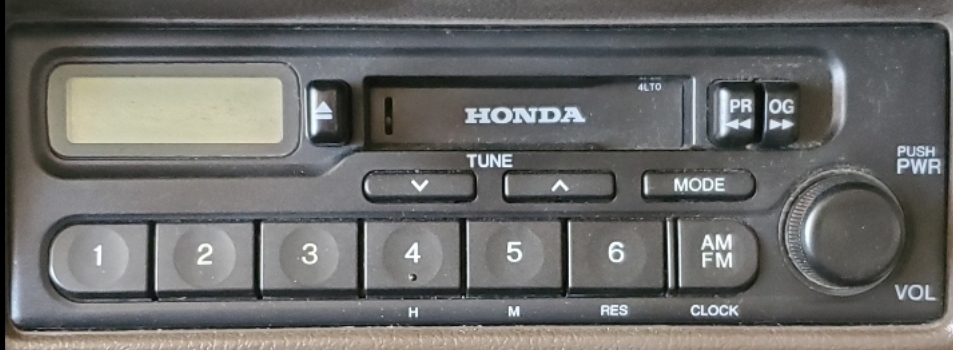
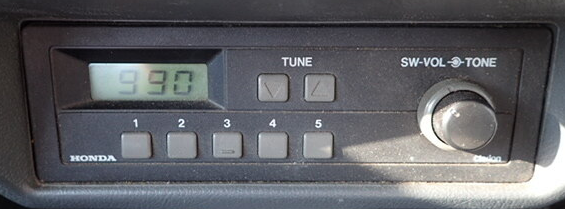
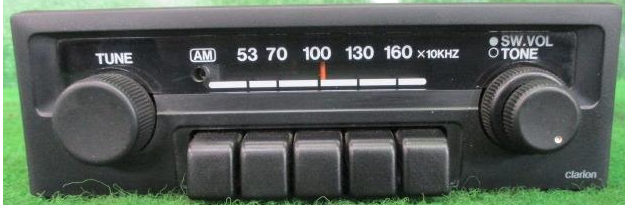
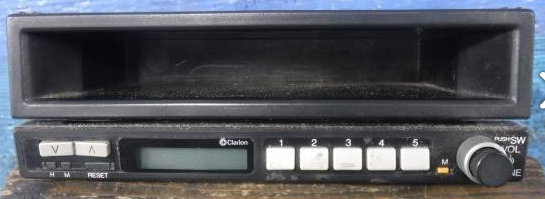
OEM Stereo Reference Images
Common factory-installed head units: